Staining Drum Shells

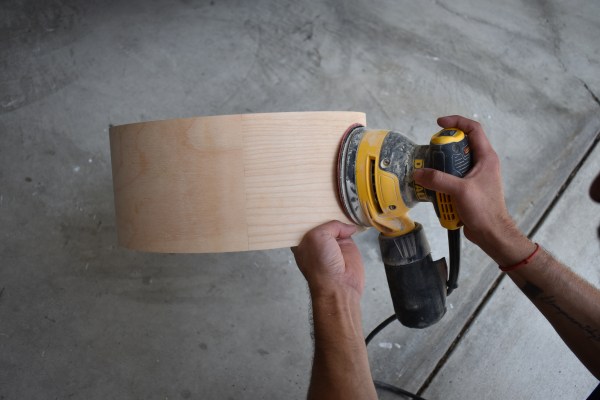
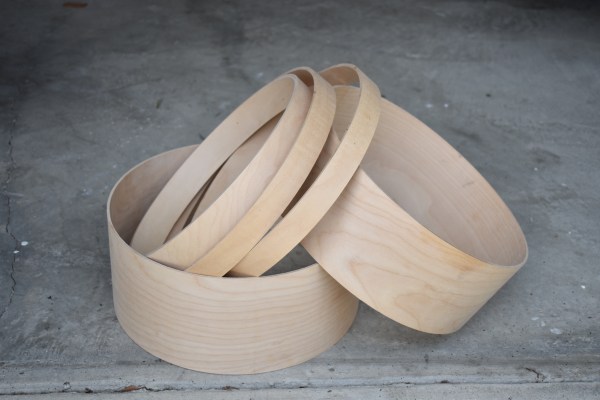
Staining drum shells might seem confusing at first, but it’s actually not complicated once you grasp the basics. The market offers numerous products, which can be overwhelming. Unlike paint, stains dye the wood fibers, highlighting the natural wood grain patterns. This enhances the shell’s beauty and, in my opinion, looks much better than a wrap.

When it comes to stains, there are essentially two types: oil-based and water-based. In general, the choice between them is mostly a matter of preference. Here are the typical differences:

Oil-Based Stains:

  • Take longer to dry.
  • Penetrate the wood more deeply, resulting in a vibrant appearance.
  • Usually available in traditional colors like black, brown, and gray.
  • Require paint thinner for cleanup.
  • Not as environmentally friendly.

Water-Based Stains:

  • Dry more quickly.
  • Offer a wider color selection, including shades like yellow, purple, and pink.
  • Require the wood grain to be raised beforehand.
  • More environmentally friendly.
  • Clean up with soap and water.

You can find staining products at stores such as Lowe’s, Home Depot, or Rockler, all of which are suitable options. Again, the choice depends on personal preference. Personally, I prefer water-based finishes. My recommended product is General Finishes Dye Stain, which is water-based and offers a great range of colors. They produce high-quality stains that can be applied with a brush or sprayed on. If possible, it’s a good idea to test the stain on a scrap piece of wood before applying it.

Before applying the stain, I highly recommend covering the inside of the shell with foil to prevent any seepage. Then, I typically brush the stain over the entire drum shell and let it sit for 5-10 minutes to allow it to soak in. Afterward, I wipe the shell with a clean rag to remove any excess stain that hasn’t soaked in. If the color appears too light, you can always apply another coat.

Once you’ve completed the staining process, follow the instructions on the label regarding drying time before applying a topcoat. Personally, I prefer not to rush the drying process and let the shell sit for a few days, especially during colder months, just to be safe.

Here is a video of me doing this process for a drum. https://www.instagram.com/p/B5frt70ANE0/?img_index=1

Sanding Drum Shells

Sanding drums may not be the most exciting part of making drums, but it’s a necessary step to achieve a smooth and flawless finish. When done correctly, sanding can prevent wood imperfections from being highlighted after staining and finishing.

Before you start sanding, it’s crucial to consider the type of stain or finish you’ll be using. One thing to be mindful of is grain raising, which happens when water gets on the wood and causes the fibers to swell. When the wood dries, it feels rough to the touch. If you sand your drum down and then get it wet, it will feel like you didn’t sand it at all. This can be a problem if you’re using a water-based finish or stain since it can become rough again. However, if you’re using an oil-based product, you can skip this step.

Fortunately, you can prevent grain raising by pre-raising the grain before sanding and staining with a water-based product. To do this, spray both the inside and outside of the raw drum shell with water or wipe it down with a damp towel. Allow it to dry, and the grain will be raised. Once the shell is dry, you can begin sanding.

You can choose to use an electric sander or sand by hand, depending on your preference. Be careful with an electric sander as it’s easy to sand too much and end up sanding through a ply of the shell.

Start sanding with 120 grit sandpaper, then gradually work your way up to 150, 180, and finally 220 grit for the outside of the drum shell. For the inside of the shell, you can go a bit further and use 320 grit sandpaper, finishing off with 400 grit for a nice and smooth interior. Stop at 220 for the exterior since it’ll be covered with wood finish.

To avoid over sanding, mark up the shell with a carpenter’s pencil between grits. Once the marks are sanded off, move on to the next grit. After going through all the grits, give the drum shell a final inspection for any blemishes to remove.

Sanding drums may not be the most thrilling part of making drums, but it’s necessary to achieve a perfect finish. By following these tips, you can avoid mistakes and produce a drum that looks and feels professional.

Drum Shell Types And How To Choose

Choosing drum shells is the first step in creating drums. This will play an important role in how your drums will sound in addition to the others (heads, bearing edges, and tuning). With drum shells the two main things you’ll need to consider are shell material and size (diameter/depth). While I’m not covering all types of shell types, I’ll be going through the most common ones for building drums.

Drum Shell Material

Wood Types

By far the most common wood type is probably maple, and for good reason. It sounds good all around, has a nice warm tone with plenty of attack to it. Maple drums can be best described as having a warm tone to it, and good for just about any application.

Birch, probably being second most common is a brighter sound than maple, and can be thought of having more cut in the mix. It has slightly less low-end than maple but can sound like it has a bit more presence.

Mahogany is the least common and has the most low-end. Although because of this, it will have the least amount of presence, but that may be what you’re looking for if you want your drum sound to blend in more with everything else.

There are other woods for drum shells out there such as poplar and luan mahogany, but it’s hard to come across a raw shell with these materials. There is also debate that these are “cheap” woods only used for entry-level kits and they do not sound as good as the other higher quality woods. I’m sure there is some truth to this, but if the drum sounds good to you then the drum sounds good.

Metal Types

There are also different metals to use for drums. Most of the time metal is not used for an entire kit, but rather only snares and things like timbales for the bright, cutting tone. There is nothing wrong with an all metal kit, in fact, there are companies that do that and they sound great.

Steel is like the maple of the metal drum world. It’s a good general purpose shell material and very commonly used. It has a nice bright, cutting tone to it that isn’t too shrill. Steel snares have a nice controlled and loud crack to it.

Brass is common as well, and is very warm sounding compared to the other metals. Has a bit more tone and life than other metals, yet with almost a darker timbre to it. To me, this is almost a good snare if you want to bridge the gap between metal and wood.

Aluminum is less common than the other two but still available from many manufacturers. The sound of an aluminum shell compared to brass and steel is more dry with less overtones. Think of it as a drum that doesn’t need as much external dampening such as pieces of tape, or a wallet on top.

Drum Shell Size

For drum shell size, the basic idea is the bigger the diameter of the shell, the bigger and lower pitched the drum will sound. A 10″ tom will naturally be higher pitched than a 12″ tom. Of course you can tweak tuning to make either sound lower or higher, but the size of the drum will restrict how much low/high tone you can get out of the drum.

In terms of the depth, the longer a drum shell is, the more sustain it will have. A shorter depth will have less sustain and more punch. Depending on what type of music you play or your preference for how you want them to sound, you can choose shorter depths to give that nice quick sound, or a long sustaining tone with more depth in the shell.

Create a website or blog at WordPress.com

Up ↑